PTPdrive up and running in no time...
- Download the latest version of the PTPdrive from the Download page.
- Run the 'PTPdrive.exe' installer as Administrator.
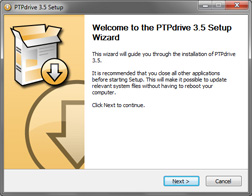
- Click 'Next' to initiate the setup. If the installer detects that PTPdrive is already installed, it shows a message asking if you want to uninstall the previous version now.
Note: It is required to uninstall any previous version of the PTPdrive before a new version can be installed. Such uninstall requires system reboot.
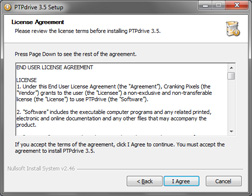
- Read the END USER LICENSE AGREEMENT and if you agree with the terms, click 'I Agree'.

- Specify the install location and click 'Install'.
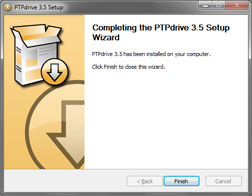
- As soon as the PTPdrive is installed, you can immediately start using it. Connect your digital camera operating in PTP mode into the computer (for instructions how to set your device to the PTP/MTP mode, please refer to your device's manual). Shortly after connecting the camera into the computer, a 'Camera connected' window shows up.
Note: This assumes the 'Camera connected' is configured to ask user for the action (which is default). If it does not show up the dialog you may need to launch the 'PTPdrive' application manually via Start->Programs->PTPdrive->PTPdrive. In case it launches automatically some other application instead, or you want to change the 'Camera connected' settings, you need to go to the Windows Explorer, right-click at the camera icon (not PTPdrive mapped drive one), select 'Properties' and configure it at the 'Events' tab.

- Double-click on 'Map this camera to a drive letter using PTPdrive'. This brings up the PTPdrive application with pre-selected camera name.
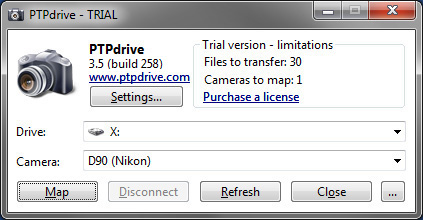
- All you have to do now is to select a free drive letter from the list and click on the 'Map' button. This will do the actual drive letter mapping. Depending on number of pictures in the camera there may be showed a 'Wait' dialog window informing you that the PTPdrive is collecting data about the pictures in the camera and it will take some time. After this is done, the drive letter is created and ready for use.
- That's it. Now you can open, copy, or delete the pictures using your favorite file manager or image viewer.
- When you are finished working with the pictures, just disconnect the drive letter:
- Simply turn off your camera
- Right-click on the mapped drive letter in Windows Explorer and select 'Disconnect PTP drive'
- Launch the PTPdrive application, in there select the drive letter which is used by the camera, and click the 'Disconnect' button.